


The 20' x 20' booth is the bread and butter of the trade show world. The size is born out of a trade show organizer's desire to maximize the number of exhibitors while still providing suitable booth spaces.
If you tape off a 20' x 20' space on the floor, you’ll find that it feels pretty big. That is, until you start filling that space with meeting spaces, seating, reception areas, demo stations, and other essential exhibit elements.
5 Key Elements to Consider
There are essentially 5 key components you should consider when designing a 20' x 20' exhibit:
- Meeting areas
- Reception Counter
- Demo Stations & Product Displays
- Clearance for Attendee Traffic Flow
- Storage Space
It’s tempting in the early stages of your booth design to pack as much in as you can, but we recommend taking a step back and thinking about a few key elements. With careful planning, you can get everything you need in your booth while still considering the need for open space, human interaction, and traffic flow.
1) Meeting Areas

Having a comfortable place to sit down and chat with your clients is usually a must-have. Whether it’s a casual, semi-private, or private meeting space, the best way to figure out what meeting space you need is to consider how much seating you need, and then work backward.
“With seating numbers decided, you can figure out exactly what type of seating would work best in your given space, whether it’s cafe-height tables, stools, or casual lounge seating,” — Steelhead designer, Alex Lancuba.
2) Reception Counter
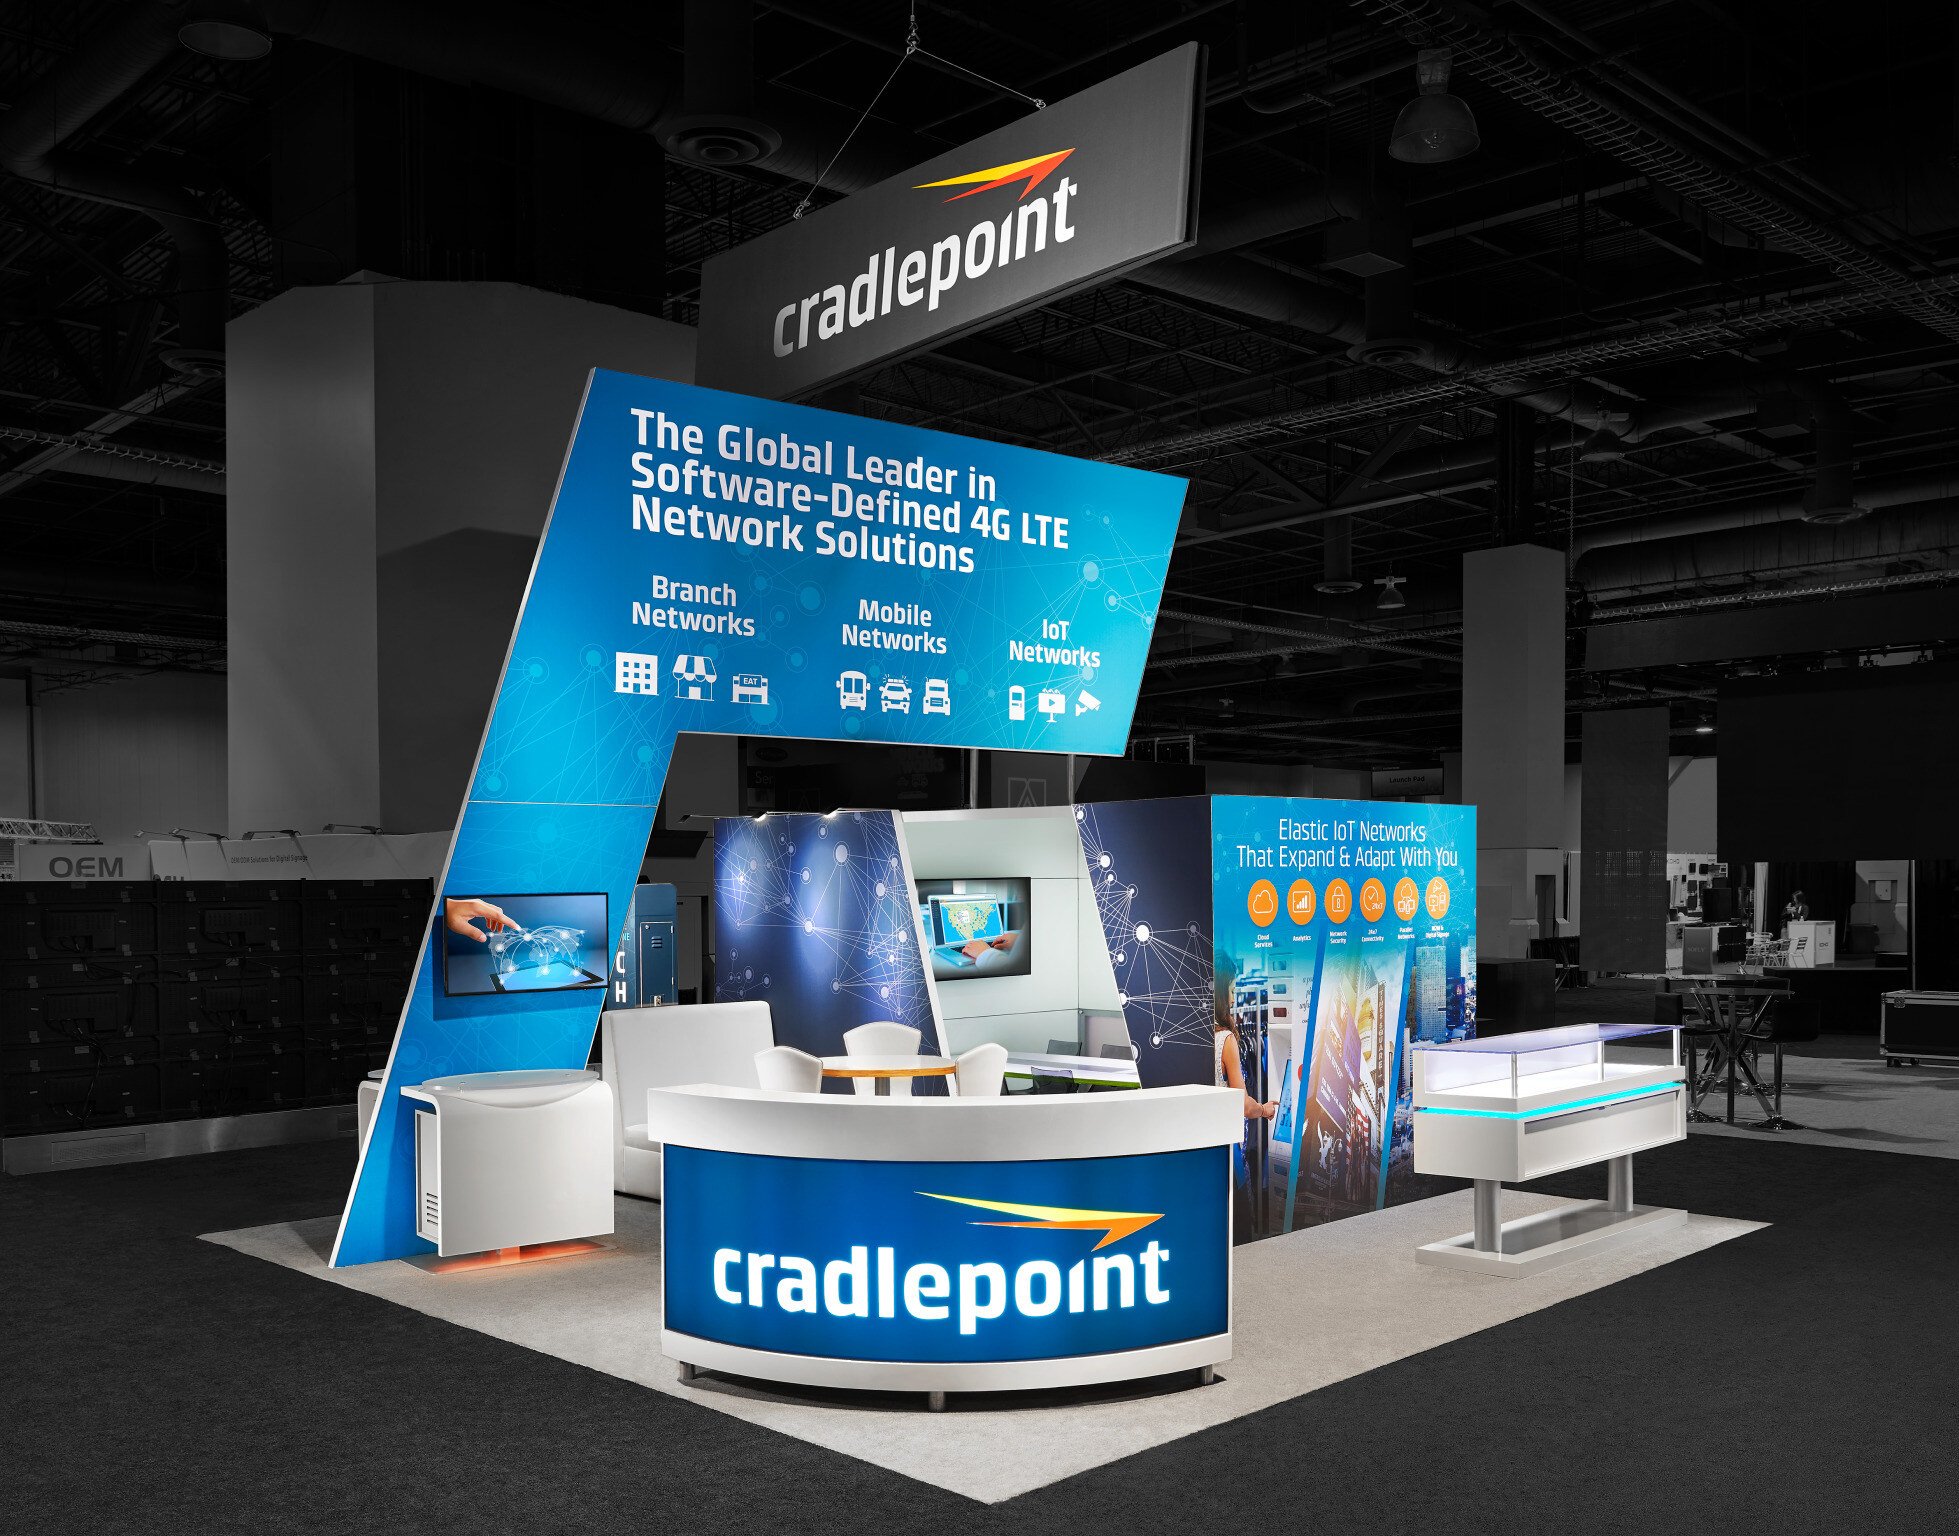
Reception areas are common, but they’re often one of the first things you can downsize when you need more room for other booth elements, such as product demos.
Reception areas help make your booth more inviting, and offer attendees an easy access point to begin talking to your staff if they have questions about your products.
In most cases, you can reduce your reception area to a compact counter to preserve functionality and gain a few feet of much-needed space.
3) Demo Stations & Product Displays
“Demo areas are a great way of showcasing product and software applications that typically require a work surface, storage, and a monitor for demonstration viewing,” says Lancuba.
Think about the type of demo you want and how much space it takes up, especially if you have multiple demos. Imagine your ideal number of demo stations and then figure out how much space that leaves you for other zones and exhibit elements.
4) Clearance for Attendee Traffic Flow
The trade show floor is already a crowded place. If your booth feels even more cramped, attendees will leave to find a more comfortable place or pass it by completely.
As you work through your design, think about maintaining a logical and seamless flow with open pathways for attendees to navigate throughout the space.
Attendees that feel cramped in your exhibit are less likely to engage in demos or wait to talk to your staff.
5) Storage Space
Whether it's for booth staff personal belongings or marketing material and product packaging, it’s necessary to determine the exact footprint you want to allocate towards a storage room.
“If you have fewer storage needs, lockable cabinet storage placed under demos or in reception counters may provide a space-efficient solution,” notes Lancuba.
The key is to prioritize your needs and then work with your exhibit designer to create something that works for you.Once you’ve arranged your booth’s elements to maximize functionality and traffic flow, consider design ideas that will make your exhibit feel more spacious.
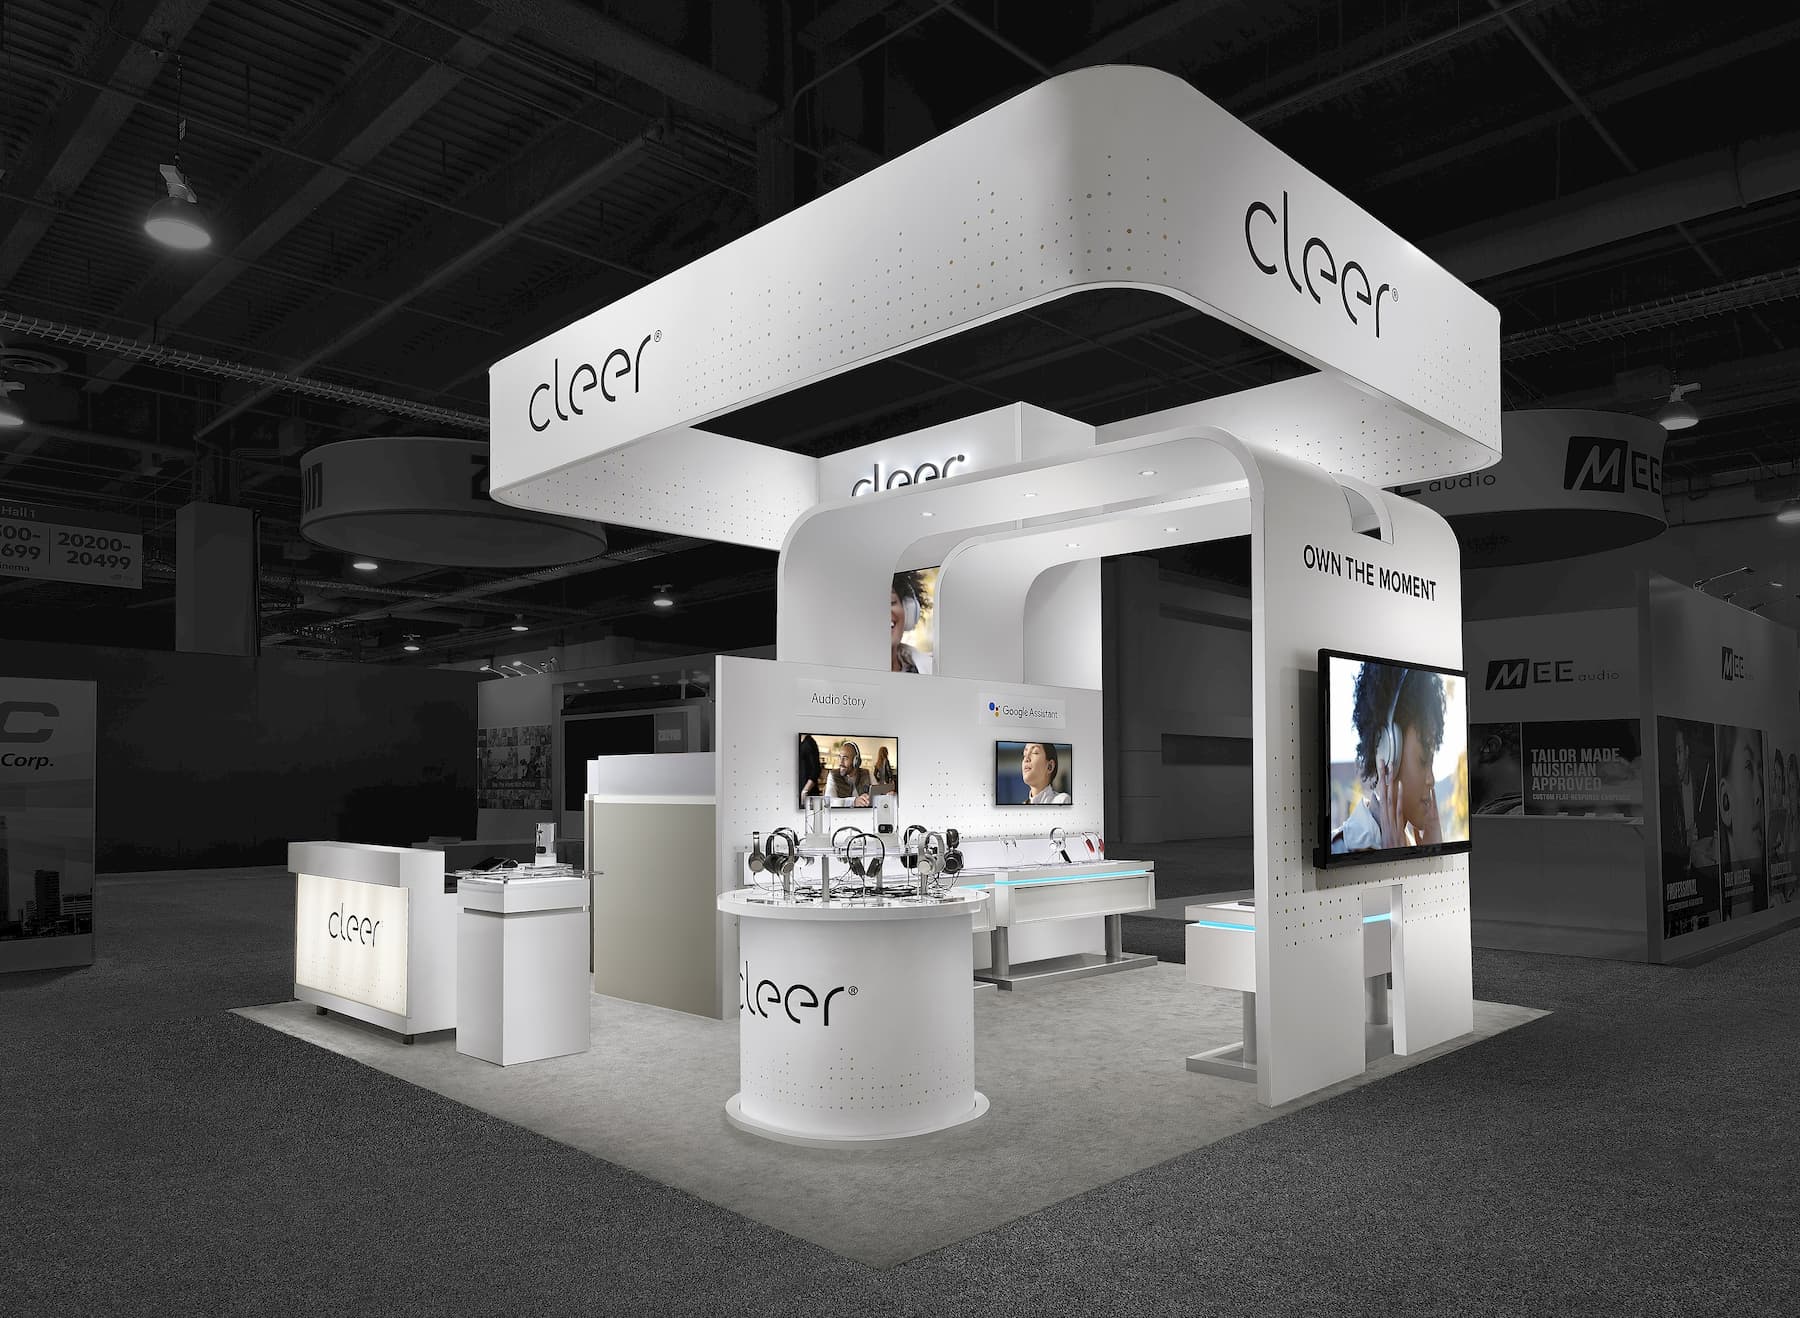
Tricks to Make Your Exhibit Feel Bigger
Have you heard of painting a room white to make it feel bigger or adding mirrors to create the illusion of added space?
Well, in the trade show world, you can integrate similar creative solutions to make your booth feel more spacious.
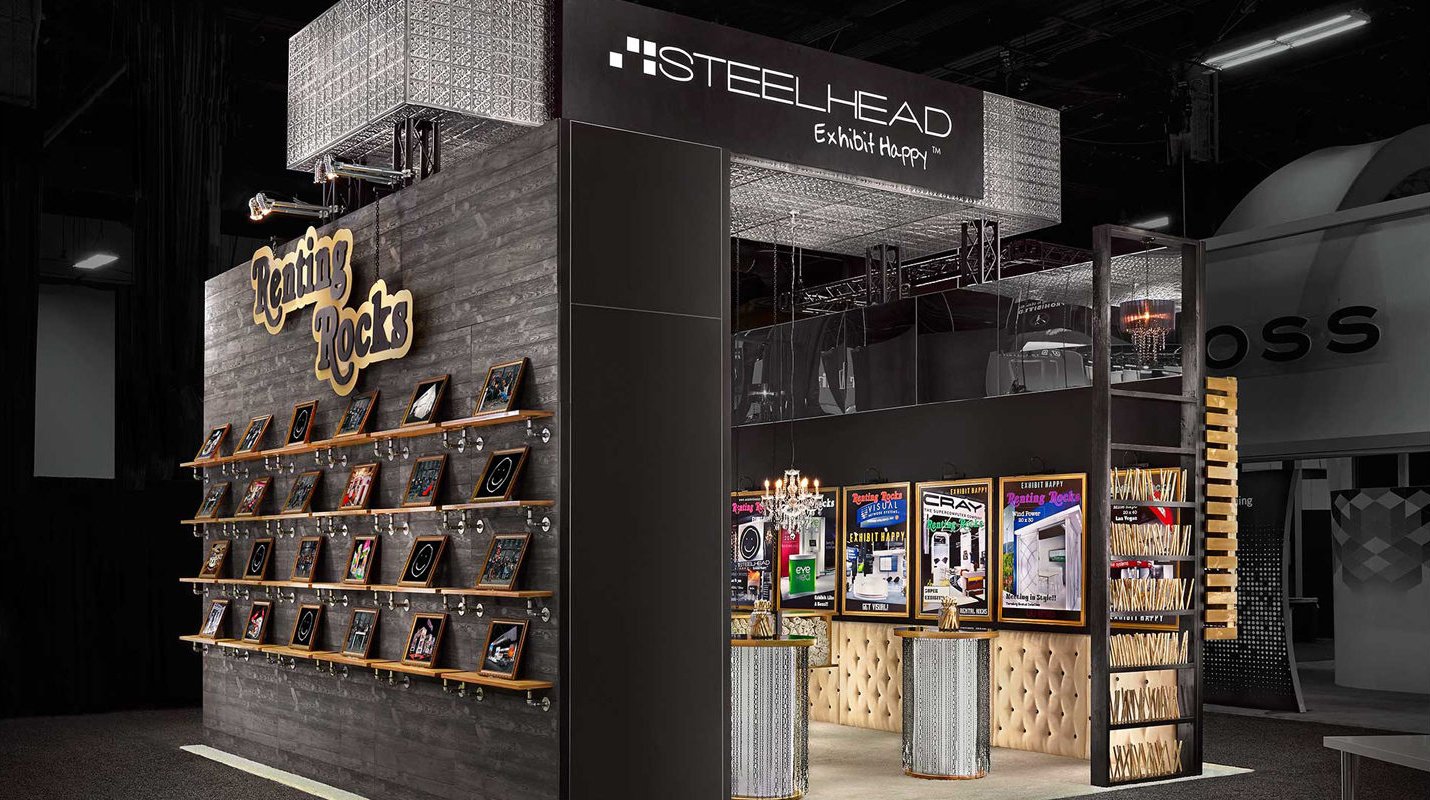
1) Maximize Height
“In the North America trade show market, a 20' x 20' booth is the smallest size where you are at liberty to extend your booth’s height beyond the typical 8’ foot height restrictions,” advises Lancuba.
Depending on the venue’s specific height restrictions, you can add impactful architecture, hanging signs, or extended walls to create eye-catching features that don’t take up more floor space.
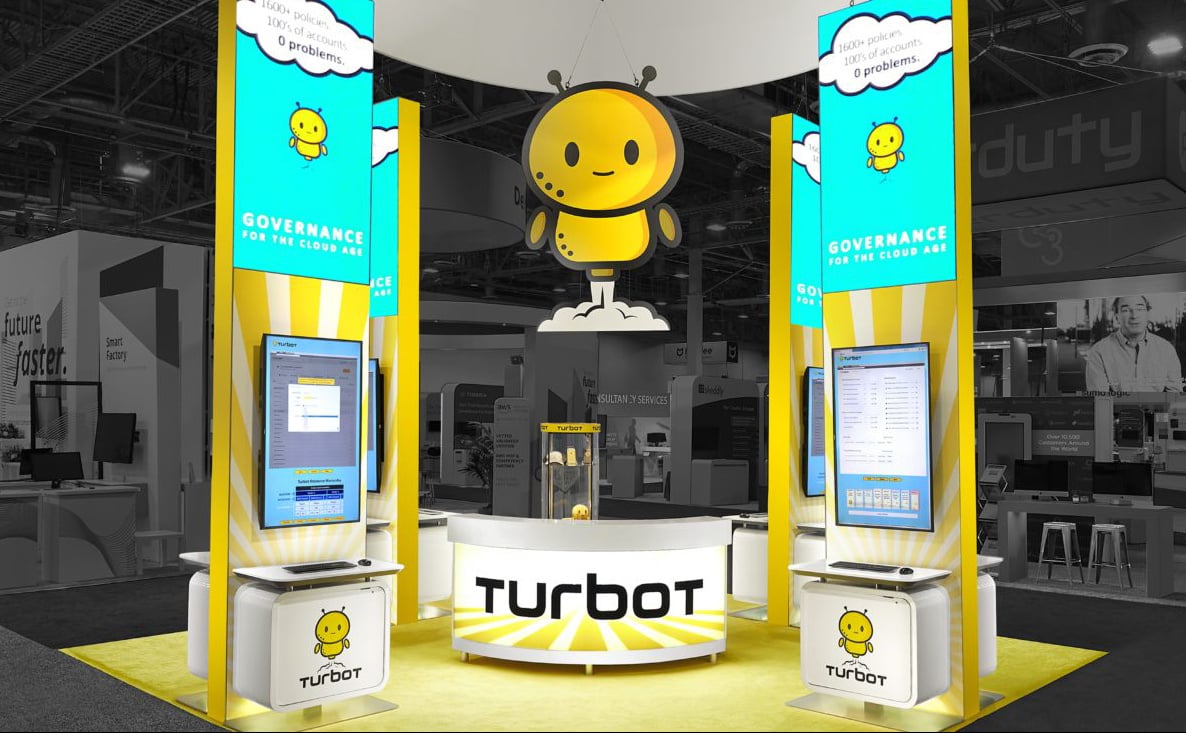
2) Add the Right Lighting
Lighting is one of the simplest ways to elevate the mood of your environment and ensure the space creates an impact.
Here are a few of our favorite lighting suggestions:
- LED accent lighting
- Large LED tile video walls
- Illuminated logos
- Mood lighting
- Interior lighting fixtures
Bonus Tip: Don’t forget fun features! Fun, interactive elements don’t necessarily need to occupy a lot of space and they add a big draw for attendees. Examples include swag giveaways, interactive prize-based games, digital interactive, social media interaction, or entertainment talent.
Start with a logical layout, work through your essential elements, and don’t forget about traffic flow. Once you’ve got your floor plan laid out, add in design elements that bring the full potential of your exhibit’s size to life. Those are the keys to a great 20' x 20' layout.